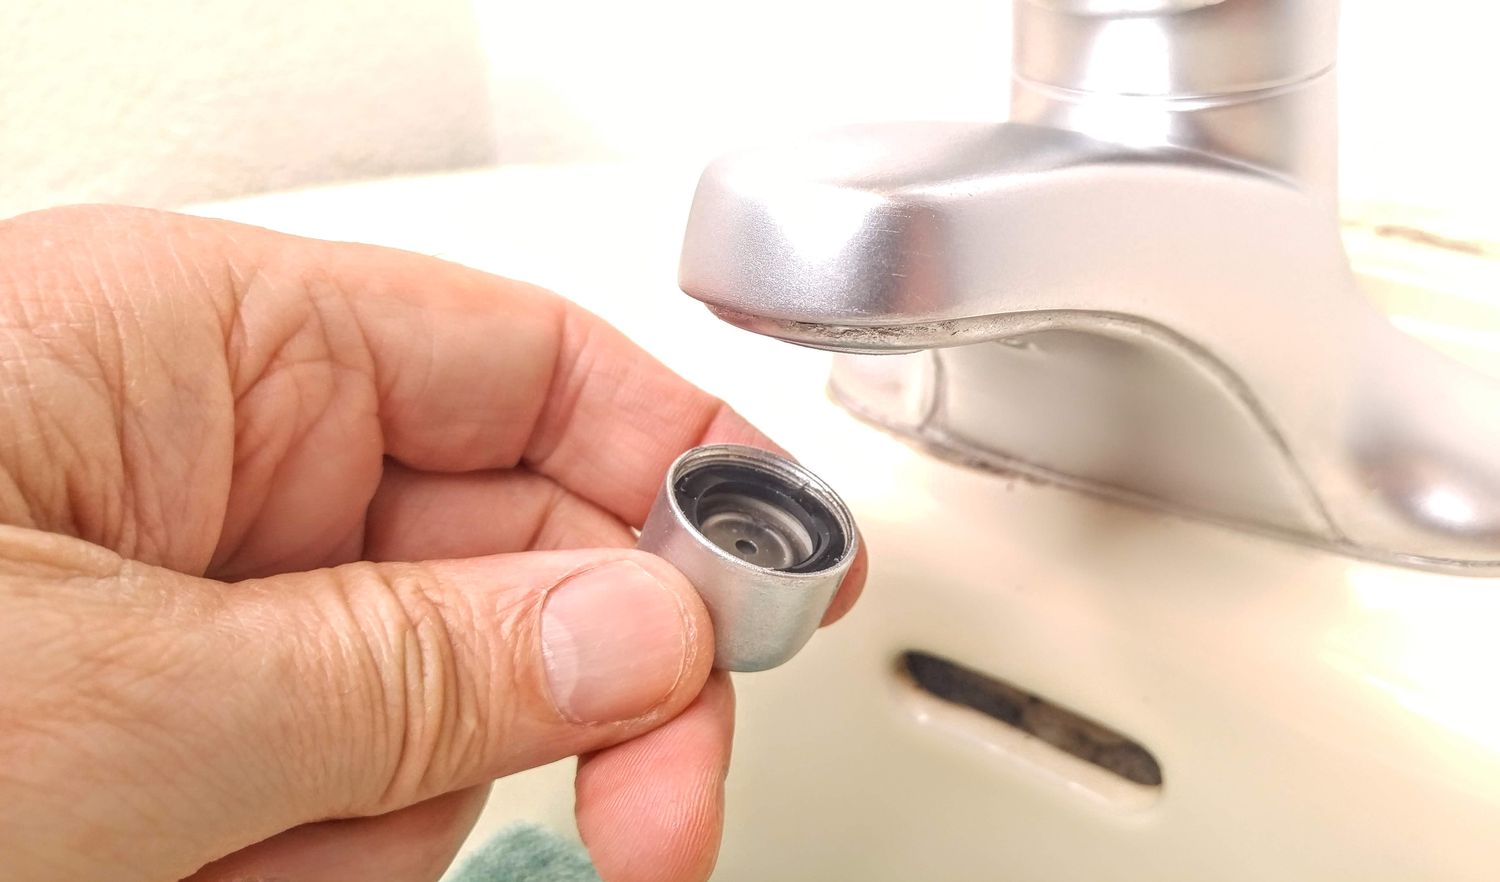
Aerator removal is a common task in household plumbing maintenance, typically done to clean or replace the aerator for improved water flow and quality. However, when faced with a recessed faucet aerator and lacking the specialized key, many homeowners may feel stumped. Fear not! With a few simple tools and techniques, you can easily remove a recessed faucet aerator without a key. Let’s dive into the step-by-step process to tackle this DIY plumbing challenge.
Understanding the Recessed Aerator
Before diving into removal methods, it’s essential to understand the anatomy of a recessed faucet aerator. Unlike standard aerators that protrude from the faucet, recessed aerators are set deeper into the faucet head, making them more challenging to access and remove. While specialized keys are designed to fit into the aerator’s grooves for removal, alternative methods can achieve the same result without the need for a key.
Tools and Materials Needed
- Needle-nose pliers
- Adjustable wrench
- Rubber band or duct tape (optional)
- White vinegar or lime scale remover (optional)
- Cleaning brush or toothbrush (optional)
Step-by-Step Removal Process
1. Prepare the Faucet Area
Start by turning off the water supply to the faucet to prevent any accidental spills or leaks during the removal process. Place a towel or rag in the sink to catch any small parts that may fall during removal.
2. Inspect the Aerator
Take a close look at the aerator to identify any flat edges or notches that may be used for grip. While recessed aerators lack the typical grooves found in standard aerators, they may still have features that provide leverage for removal.
3. Use Needle-Nose Pliers
If the aerator has flat edges or notches, grip it firmly with a pair of needle-nose pliers. Be careful not to apply too much force to avoid damaging the aerator or the faucet head. Slowly turn the pliers counterclockwise to loosen the aerator.
4. Apply Lubrication
If the aerator is stuck or difficult to turn, apply a small amount of lubricant, such as WD-40 or cooking oil, to the threads. This helps loosen any corrosion or mineral buildup that may be causing resistance.
5. Use an Adjustable Wrench
If the aerator lacks grip features, wrap a rubber band or duct tape around the aerator to provide traction. Alternatively, you can grip the aerator with an adjustable wrench, ensuring a firm hold without damaging the aerator’s surface. Turn the wrench counterclockwise to loosen and remove the aerator.
6. Clean and Inspect
Once the aerator is removed, inspect it for any signs of damage, corrosion, or mineral buildup. If necessary, clean the aerator by soaking it in white vinegar or lime scale remover to dissolve any mineral deposits. Use a cleaning brush or toothbrush to scrub away stubborn buildup.
7. Reinstall or Replace
After cleaning and inspecting the aerator, reinstall it by screwing it back into the faucet head clockwise. Ensure a snug fit without overtightening to avoid damaging the threads. Turn on the water supply and test the faucet to ensure proper water flow and functionality.
Conclusion
Removing a recessed faucet aerator without a key may seem daunting at first, but with the right tools and techniques, it’s a manageable DIY task for any homeowner. By following the step-by-step process outlined above and exercising patience and caution, you can successfully remove and maintain your faucet aerator for optimal water flow and quality. Remember to inspect and clean the aerator regularly to prevent buildup and ensure smooth operation of your faucet.
 iVIGA Faucet Online Shop
