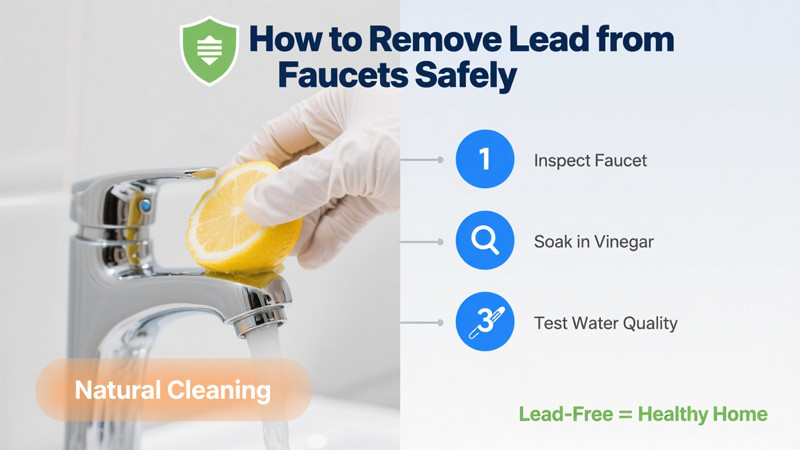
Lead in drinking water is a serious concern for households across the world. While regulations have greatly reduced the use of lead in plumbing systems, older homes or certain fixtures may still contain lead components that leach into the water supply. One common source is the faucet itself. Fortunately, homeowners can take steps to identify and remove lead from faucets safely, ensuring that their drinking water is as clean and healthy as possible.
In this article, we’ll explore why lead in faucets is dangerous, how to check for it, and practical steps to remove or reduce it safely.
Why Lead in Faucets Is a Problem
Lead is a toxic metal with no safe level of exposure. Even small amounts can be harmful, especially for children and pregnant women. According to the U.S. Environmental Protection Agency (EPA), lead can cause developmental delays, learning difficulties, kidney problems, and high blood pressure.
Faucets made before 2014 may contain significant amounts of lead in their brass components, since laws allowing “lead-free” labeling still permitted small amounts. Over time, lead can leach into the water passing through these fixtures, particularly if the water is acidic or has low mineral content.
Step 1: Determine If Your Faucet Contains Lead
Before attempting removal, it’s important to know whether your faucet actually poses a risk. You can:
-
Check the age of the faucet – Faucets installed before 2014 are more likely to contain lead.
-
Look for NSF/ANSI 61 or 372 certifications – These indicate compliance with current lead-free standards.
-
Use a home water test kit – Affordable kits can detect lead levels in your tap water.
-
Send a water sample to a certified lab – For the most accurate results, this is the best option.
Step 2: Flush Your Faucet Regularly
If you suspect lead but can’t replace your faucet immediately, flushing the water is a temporary safety measure. Run cold water for 30 seconds to 2 minutes before using it for drinking or cooking. This helps clear out water that has been sitting in the pipes and faucet, where lead leaching is most likely.
Step 3: Replace Old Faucet Fixtures
The most effective way to remove lead from faucets is to replace them with certified lead-free models. Here’s how to do it safely:
-
Shut off the water supply under the sink.
-
Relieve pressure by opening the faucet.
-
Disconnect the supply lines using an adjustable wrench.
-
Remove the old faucet by loosening the mounting nuts beneath the sink.
-
Install a new faucet that is certified lead-free, ensuring all washers and gaskets are correctly placed.
-
Reconnect supply lines and turn the water back on.
When purchasing a replacement, look for labels such as NSF/ANSI 61: Drinking Water System Components or NSF/ANSI 372: Lead-Free Certification.
Step 4: Install a Point-of-Use Water Filter
Even if you replace your faucet, other parts of your plumbing system may contain lead. To add another layer of protection, consider installing a water filter certified to remove lead. Popular options include:
-
Faucet-mounted filters – Convenient and easy to install.
-
Under-sink filters – Hidden and provide continuous filtered water.
-
Pitcher filters – Portable but require frequent refilling.
Always check for NSF/ANSI Standard 53 or Standard 58 certification, which confirm lead reduction capabilities.
Step 5: Maintain Your Plumbing System
Regular maintenance prevents lead from building up in your system. Practical steps include:
-
Replace old supply lines with stainless steel braided hoses.
-
Inspect fittings for signs of corrosion or wear.
-
Avoid using hot water from the tap for cooking or drinking, since heat can increase lead leaching.
-
Clean faucet aerators regularly, as particles can accumulate there.
Step 6: Consider Whole-House Solutions
If testing shows elevated lead levels throughout your plumbing system, a faucet replacement alone may not be enough. In this case, you may need to:
-
Install a whole-house water filtration system designed for lead.
-
Replace older lead service lines (common in homes built before 1986).
-
Work with your local water provider to identify lead sources in your supply.
These larger-scale fixes can be costly but provide long-term safety and peace of mind.
Safety Precautions During Faucet Replacement
When removing a lead-containing faucet, follow these precautions to minimize exposure:
-
Wear gloves to avoid direct contact with lead-containing parts.
-
Avoid sanding or grinding brass parts, which can release lead dust.
-
Dispose of the old faucet responsibly—check if your local recycling center accepts metal fixtures.
-
Wash hands thoroughly after handling plumbing components.
When to Call a Professional
While many homeowners can replace a faucet themselves, professional plumbers bring expertise and peace of mind. A licensed plumber can:
-
Identify whether other parts of your plumbing system contain lead.
-
Properly install certified lead-free faucets.
-
Recommend the best filtration systems for your household.
-
Ensure compliance with local plumbing codes.
If you’re uncomfortable with DIY plumbing, hiring a pro is the safest choice.
Conclusion
Removing lead from faucets is an essential step in safeguarding your family’s health. While simple measures like flushing the faucet and using water filters can help reduce exposure, the most reliable solution is to replace old faucets with certified lead-free models. Regular maintenance, water testing, and, if necessary, whole-house filtration provide added protection.
By taking these proactive steps, you’ll not only improve your water quality but also gain peace of mind knowing that every sip of water from your kitchen sink is safe.
 iVIGA Faucet Online Shop

